

Home / CNC-Machining / CNC Milling / CNC Machined Aluminum Sensor Mount Set
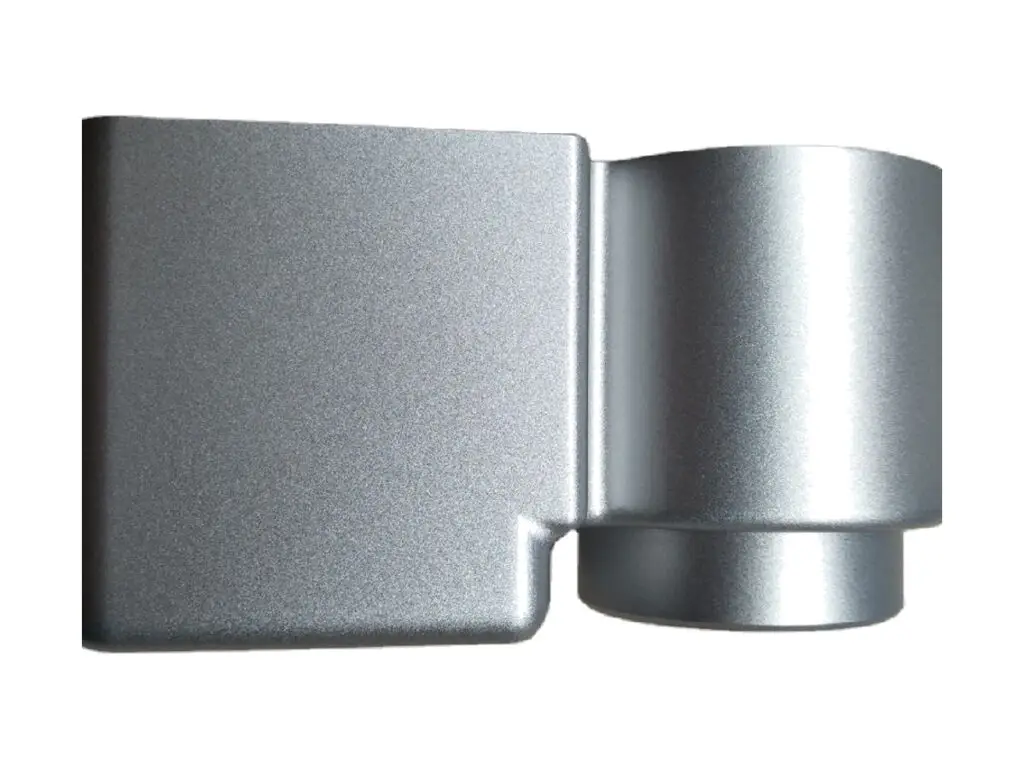
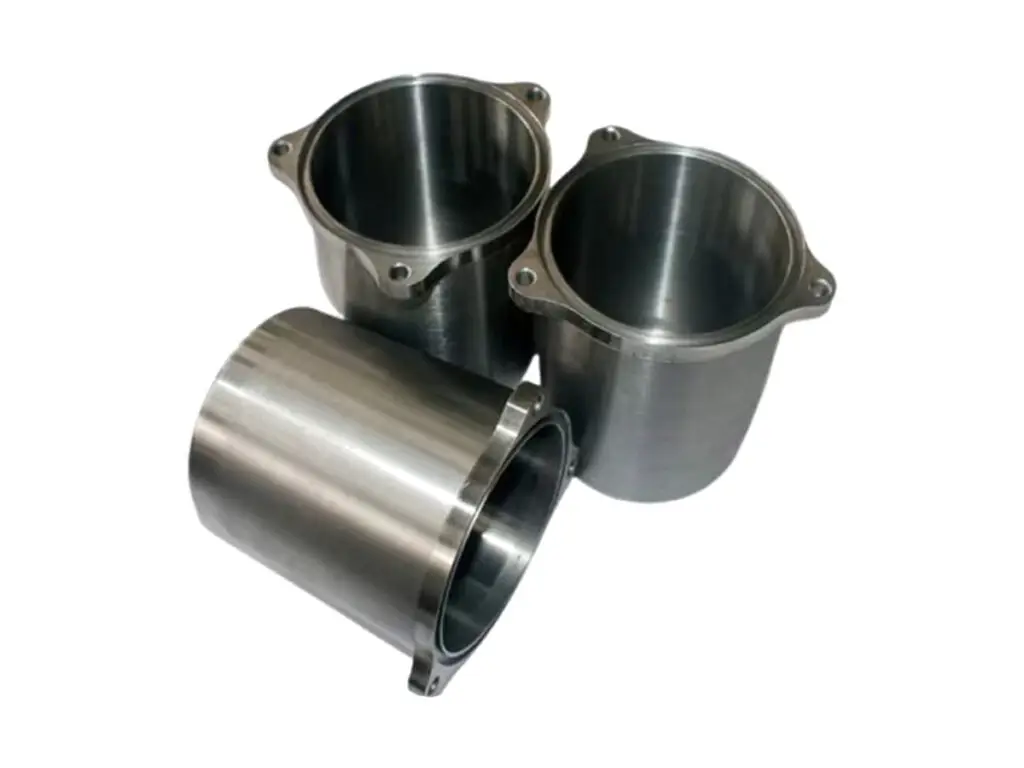
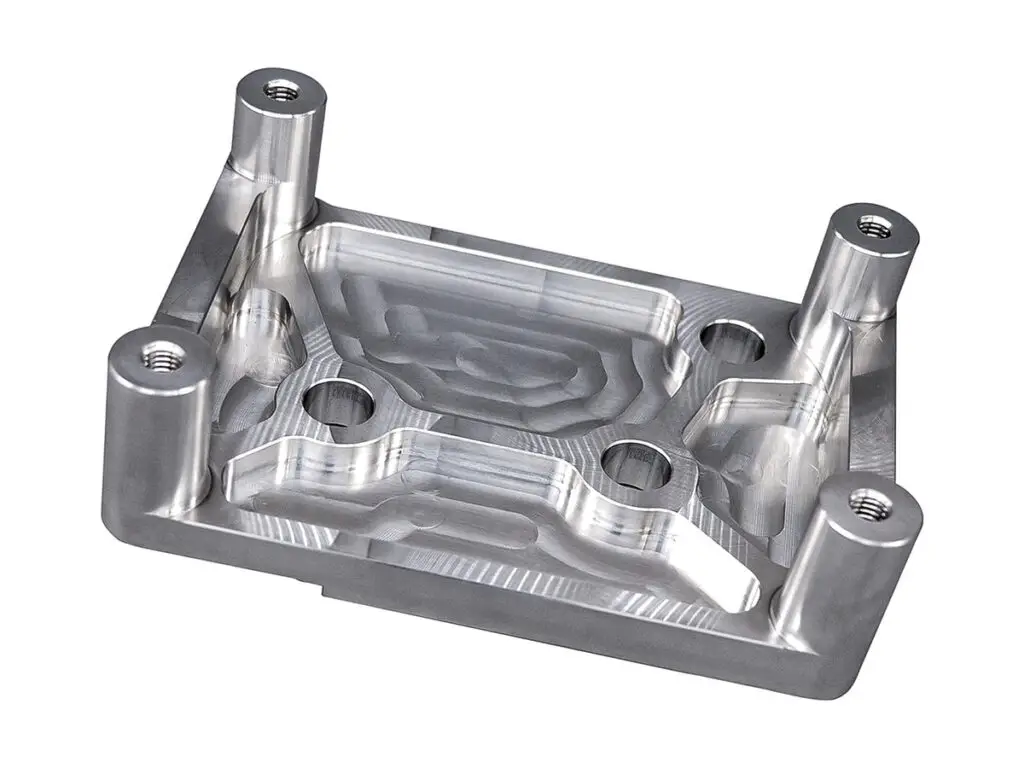
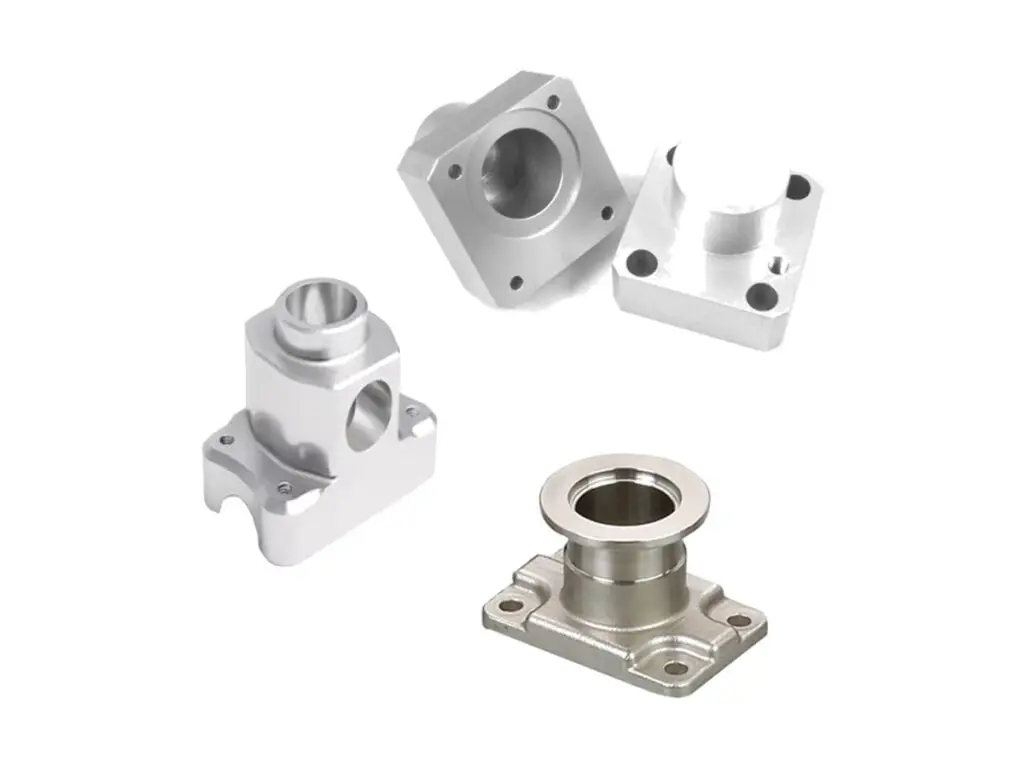
CNC machined aluminum sensor mounts with a milled slot and reamed dowel holes, supplied as a matched set

CNC Machined Aluminum Sensor Mount Set

Sensor mount sets machined from 6061-T6, with the sensor slot held to +0.05/0 mm and square within 0.02 mm, mounting faces square to the slot within 0.03 mm, dowel holes at ±0.01 mm and set faces matched within 0.05 mm.

*Send the sensor body size and the sensing distance. The slot depth sets the gap, and a mount 0.2 mm shallow puts the sensor outside its switching range at the far end of travel.

Aluminium Sensor Mount Set Overview

A sensor mount is a small part with two jobs: hold the sensor square to the target and keep the gap constant when the machine vibrates. Both come down to how the slot and the mounting face relate.

The set is cut from one billet, the slot is milled and side finished, the mounting face is fly cut in the same clamping, and the dowel holes are reamed with the set pinned together so the pieces locate off the same pins.

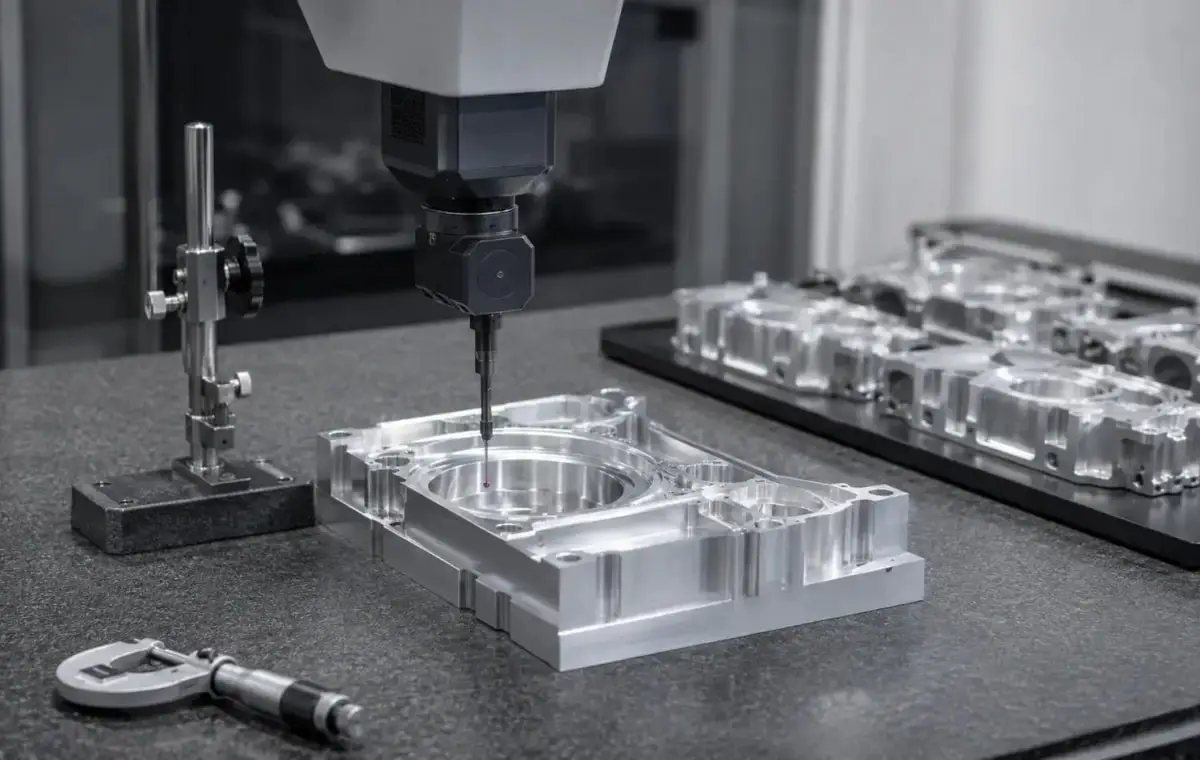
CMM inspection of a gripper jaw set, a brass manifold block and an eight-lobe flange plate
6061-T6 aluminium flat plate stock for CNC milling

6061-T6 Aluminium

6061-T6 is light enough not to load a moving axis and stiff enough at a 3 mm wall to keep the gap stable. It also anodizes evenly, which matters when several mounts sit side by side on a machine.

7075-T6 aluminium billet block stock for CNC milling

6082-T6 or 316 Stainless

6082-T6 is used for welded brackets, and 316 stainless where the mount sits in coolant mist or washdown and the aluminium would corrode at the slot edge.

A wall under 3 mm at the slot lets the mount flex when the sensor cable is pulled, and the gap moves by more than the sensor hysteresis.

Sensor Mount Set Specifications

Slotting and dowel data for sensor mounts, with the values that decide whether the gap stays where it was set.

SpecificationMachining DataSpecificationMachining Data
ProductSensor Mount Set (3 – 5 Pieces)Machining Process3-Axis CNC Milling, Slotting, Facing
Material6061-T6 AluminiumEnvelope30 × 25 mm to 80 × 60 mm per Piece
Sensor SlotWidth +0.05 / 0 mm, Square 0.02 mmSlot Depth±0.05 mm
Mounting FaceSquare to the Slot Within 0.03 mmFlatness0.02 mm
Dowel HolesØ 4 H7, ±0.01 mmFixing HolesM4 / M5, Position ±0.05 mm
Wall at the Slot3 mm MinimumSensing GapSet to ±0.10 mm on Assembly
Weight25 – 90 g per PieceCoating Build15 – 20 µm Anodizing
CustomizationSlot Size, Cable Exit, Set Quantity, MarkingLead Time5 – 7 Days Sample, 12 – 16 Days Batch
InspectionCMM Slot and Face, Pin Gauge on Dowels, Set Match CheckPackingNumbered Bags, Foam Tray

Key Features of Our Sensor Mounts

Slot side finished, face fly cut in the same clamping, set pinned together.

Slot Square to the Face

The slot and the mounting face are cut in one clamping, so the sensor axis stays perpendicular to the bracket face within 0.03 mm and the target distance does not change as the bracket is tightened.

Dowel Holes Reamed as a Set

The set is pinned and reamed together, so every mount registers on the same pin pattern and a replacement part locates without touching the machine frame.

Cable Exit Cut Before Coating

The cable exit and strain relief are milled before anodizing, so the coating does not bridge the exit and rub the cable jacket through on a moving axis.

Gap Marked on the Part

The sensing gap used at trial fit is laser marked on the mount, which is quicker than measuring on the machine when a sensor is replaced at shift change.

Mount that keeps the gap stable?

Finishes for Sensor Mounts

The slot is functional, the face is a datum, the outside is cosmetic.

FinishMain PurposeFinishMain Purpose
Clear AnodizingProtection without changing the slotBlack AnodizingDark mounts on machine frames
Bead BlastingEven matte across the setHard AnodizingWear face where the sensor slides
Masked SlotSlot stays at gauge sizeChromate ConversionConductive mount for earthing
Laser MarkingPosition number and sensing gapEdge Break0.3 mm, No Burr in the Slot
Set Trial FitSensors checked in the mountsFace FilmProtection on the mounting face
Salt Spray480 h on 6061Slot RecheckWidth After Coating

*Anodizing closes a 0.05 mm slot by 0.04 mm on width; slots under 6 mm are masked, otherwise the sensor body will not slide in after coating.

logo

Put your CNC milling parts into production today

All information and uploads are secure and confidential.

Trusted for Precision CNC Machined Components

Supporting OEM projects with accurate machining, flexible production, and reliable component quality.

Mechanical Equipment Customer
Every sensor sits at the same gap, so one teach covers all four stations.

Industrial Components Buyer
The mounts located on the pins first time with no adjustment.

Equipment Manufacturer
The slot grips the sensor body without crushing it.

OEM Customer
OEM Customer
After a cable pull the gap had not moved, which was the problem with the old brackets.

Automation Industry Customer
The customized machining solution provided the dimensional accuracy required for our rotating equipment components.

Trusted for Precision CNC Milling.

Making a Sensor Mount Set

Every mount in the set is slotted from the same datum, so a sensor swapped from one station to the next sits at the same gap without re-teaching.

01. Sensor and Gap Review

Check the sensor body, cable exit and switching distance, then set the slot depth so the gap lands in the middle of the sensing range.

02. Cut and Square the Set

Cut all pieces from one billet, face to a common thickness within 0.02 mm and number each piece on the back.

03. Slot and Face

Mill the slot, side finish both walls, then fly cut the mounting face in the same clamping so the two features stay related.

04. Ream Dowels and Trial Fit

Pin the set together, ream the dowel holes through the aligned pieces, fit the sensors and check the gap on a height gauge.

05. Anodize and Mark

Mask the slots, anodize, laser mark the gap and position, and pack the pieces in order with their pins.

Send the sensor drawing and the mounting layout, and we will quote a numbered set slotted from one datum with the gap marked on each piece.

Sensor Mount Set FAQs

We set the slot depth so the gap lands in the middle of the switching range, then mark the achieved gap on the part. The final gap is set on the machine with a feeler gauge.

Three to five is typical, all from one billet and pinned together for reaming. Larger sets are split, because a 300 mm billet moves too much between roughing and finishing.

A round sensor needs a bored seat rather than a slot, or a slot with a V-groove cut in the base. We cut whichever matches the sensor body you are using.

The cable exit is milled to clear the gland and the bend radius, which is why we ask for the sensor drawing rather than just the body diameter.

About 20 µm per wall, so a slot at the top of tolerance is masked before coating. Unmasked slots under 6 mm often need reaming after anodizing.

Yes, from the set number. The replacement locates on the same dowels, though its face may sit 0.02 mm off the original, which is inside the sensor tolerance.

Other CNC Machined Mechanical Components

Explore additional precision CNC machined components manufactured for OEM applications and customized production needs.

Five-axis CNC machined 6082-T6 aluminium manifold plates with cross-drilled galleries, spotfaced port faces and ports on five.

CNC machined 7075-T6 aluminium fork slider legs with a honed bore, machined axle slots and brake caliper lugs, held to ±0.03 mm.

CNC machined 316L stainless hinge blocks with twin knuckle bores, a square mounting face and a matched pin bore, holding knuckle.

CNC turned 316L stainless cylinder cups with a thin uniform wall, a flat closed end and a bore to H8, machined from solid bar and.

CNC machined 6061-T6 aluminium servo actuator housings with a bored bearing register, ribbed walls and a machined gasket face,.

Get high‑quality machined parts in as fast as 4 days with our expanded automated CNC milling!

Scroll to Top