
Summary
CNC milling is a computer-controlled manufacturing process that transforms digital designs into precise physical components. By using rotating cutting tools to remove material from a solid workpiece, CNC milling machines can produce complex parts with consistent dimensions, reliable quality, and repeatable performance.
The process involves several critical stages, including CAD design, CAM programming, machine setup, material cutting, and final inspection. Understanding how CNC milling works helps engineers, designers, and purchasing teams make better decisions when developing custom parts and selecting a machining partner.
This guide explains the complete CNC milling process, from the initial design file to the finished precision component.
How Does CNC Milling Work?
A CNC milling machine is an automated subtractive manufacturing system that creates parts by removing material from a solid workpiece. The raw material is securely fixed on the machine table, while computer-controlled cutting tools rotate at high speeds to remove specific areas based on programmed instructions.
Unlike manual machining, CNC milling relies on digital control systems to manage tool movement, cutting speed, feed rate, and machining sequences. This allows manufacturers to produce complex geometries with high repeatability and consistent accuracy.
The complete CNC milling machining process usually follows five main stages:
CAD design → CAM programming → Machine setup → Material cutting → Inspection
Each stage plays an important role in determining the final part quality, machining efficiency, and production reliability.
Step 1: Create and Prepare the CAD Design
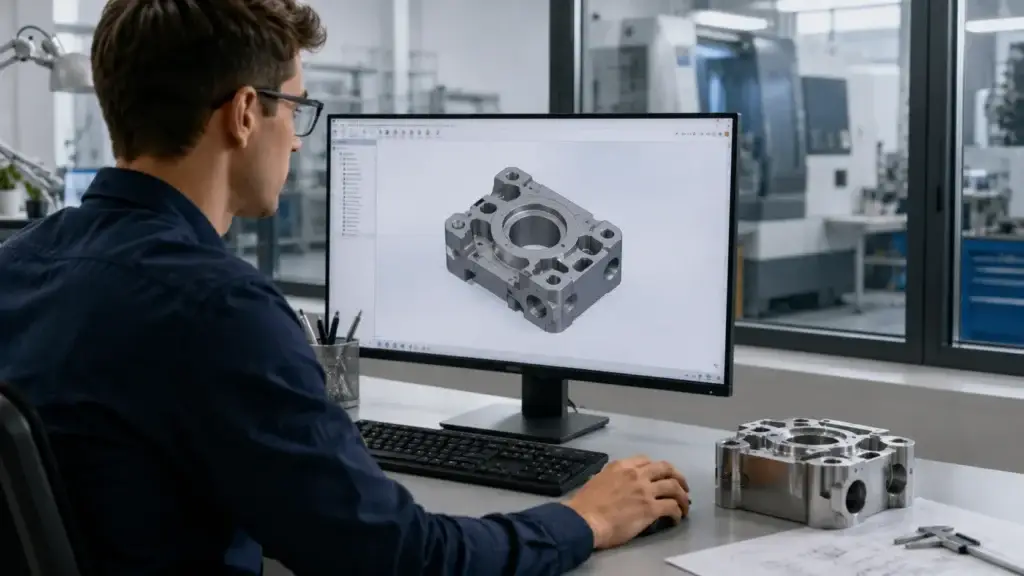
The CNC milling process begins with a digital part design created using Computer-Aided Design (CAD) software.
The CAD model defines the exact geometry of the component, including:
- Overall dimensions
- Hole locations
- Surface features
- Tolerance requirements
- Complex shapes and contours
Engineers typically provide either a 2D drawing or a 3D CAD model containing all manufacturing requirements.
Before machining starts, experienced manufacturers review the design to ensure it can be produced efficiently. Factors such as wall thickness, corner radius, tool accessibility, and tolerance requirements can influence machining difficulty and overall cost.
A well-prepared design helps prevent production issues and allows the CNC milling process to achieve better accuracy and consistency.
Step 2: Convert CAD Files into CNC Programs
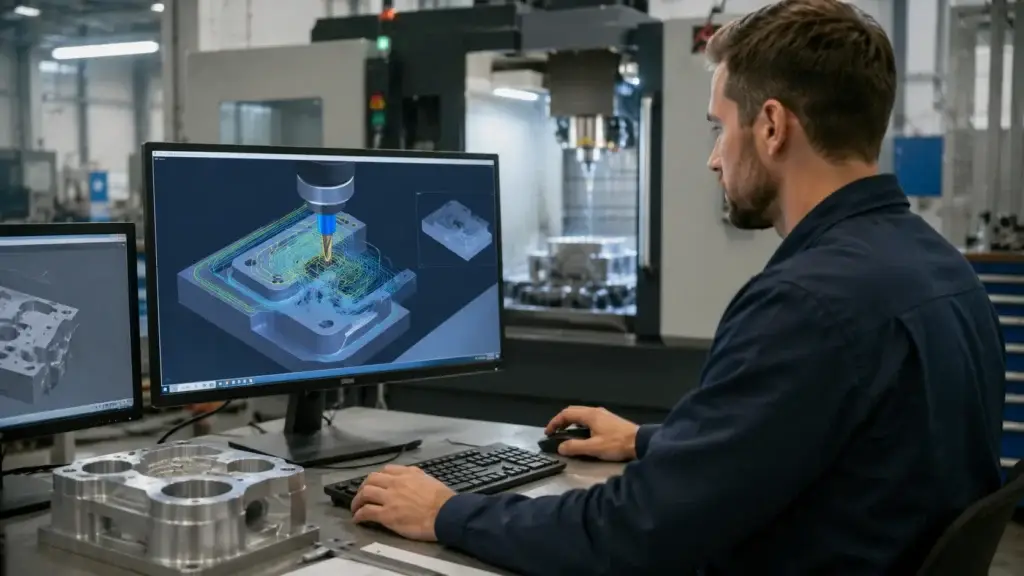
A CAD file describes what the final part should look like, but the CNC machine needs specific instructions to perform the machining process.
This is where CAM (Computer-Aided Manufacturing) software is used.
The CAD model is imported into CAM software, where machinists create machining strategies and generate toolpaths. These instructions determine:
- Cutting tool movements
- Machining sequence
- Spindle speed
- Feed rate
- Tool changes
The final program is usually converted into G-code, which controls the CNC machine’s movement.
G-code tells the machine how to position the cutting tool, when to move along different axes, and how to perform each machining operation. Proper programming is essential because inefficient tool paths can increase machining time, reduce tool life, or affect surface quality.
Step 3: Set Up the CNC Milling Machine
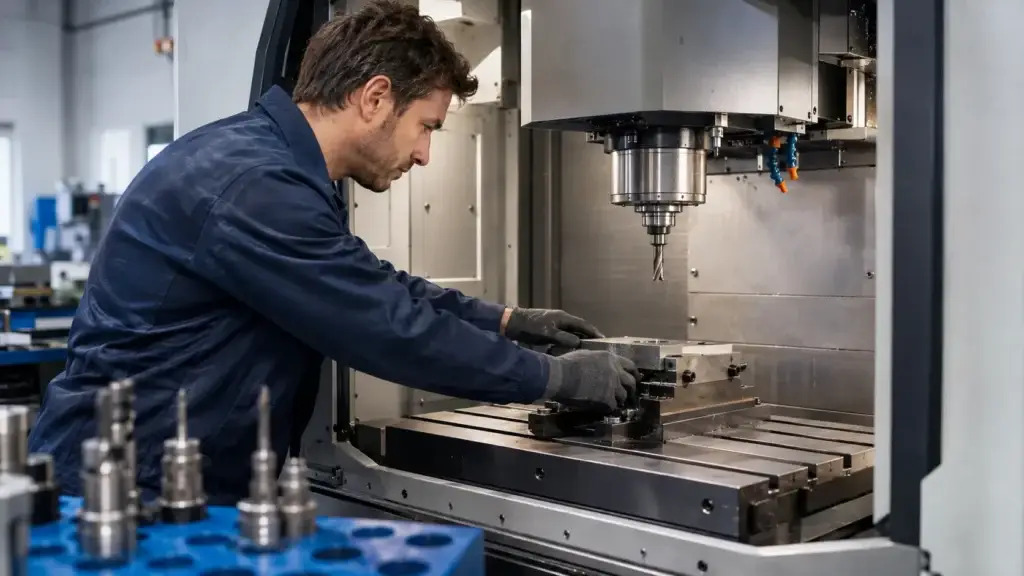
After programming is complete, the CNC milling machine must be prepared for production.
The setup process includes several important steps.
Securing the Workpiece
The raw material block is fixed securely using a vise, fixture, or custom workholding system. Proper positioning prevents movement during cutting and helps maintain dimensional accuracy.
Selecting Cutting Tools
Different tools are selected depending on the material and machining requirements.
Common CNC milling tools include:
- End mills for general cutting and pocket machining
- Drills for creating accurate holes
- Ball nose cutters for curved surfaces
Tool selection affects cutting efficiency, surface finish, and tool life.
Machine Calibration
Before machining begins, operators set work coordinates, tool offsets, and machine parameters to ensure the cutting process matches the engineering design.
Step 4: Perform the CNC Milling Operation
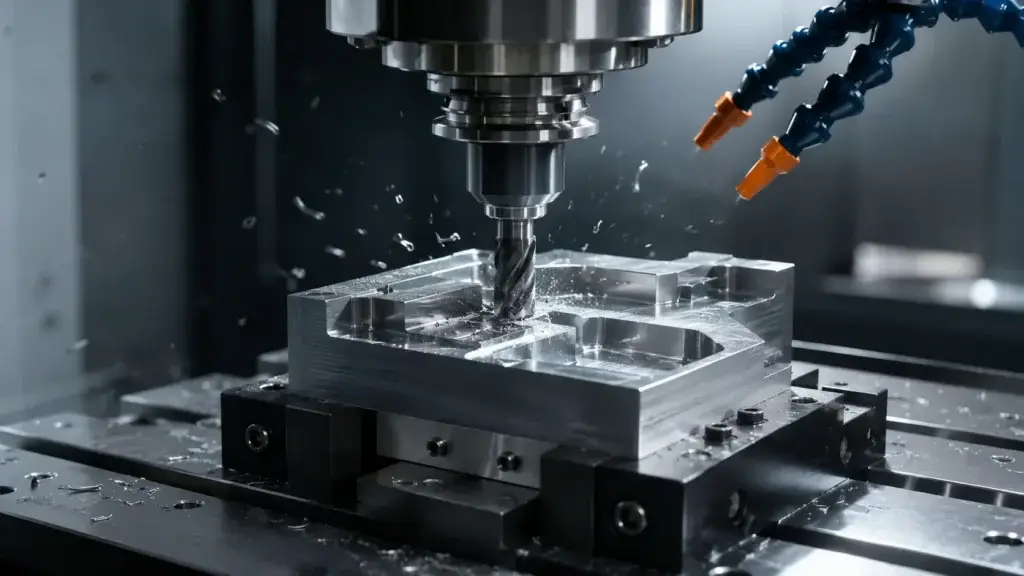
Once the setup is completed, the CNC milling machine begins the automated cutting process.
The spindle rotates the cutting tool at high speed while the machine controls movement along multiple axes, typically:
- X-axis
- Y-axis
- Z-axis
During machining, the cutting tool removes material layer by layer until the final shape is achieved.
Common CNC milling operations include:
- Face milling for creating flat surfaces
- Pocket milling for producing cavities
- Drilling for precision holes
- Contour milling for complex profiles
Coolant is often applied during machining to control heat, improve tool performance, and maintain surface quality, especially when processing harder materials such as stainless steel.
The accuracy of this stage depends on multiple factors, including machine stability, tooling condition, programming quality, and material characteristics.
Step 5: Inspect the Finished CNC Machined Part
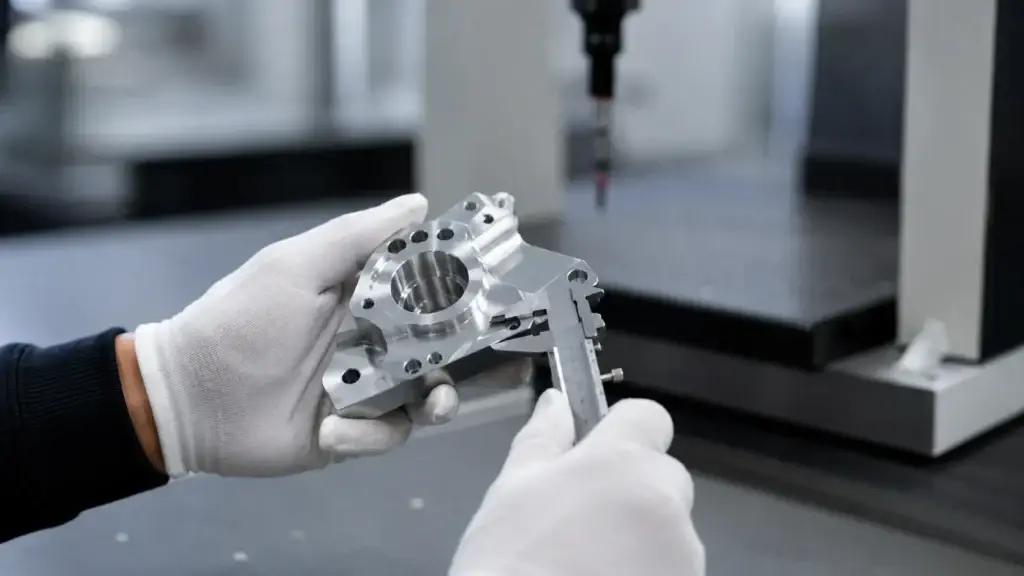
CNC milling does not end when the machine finishes cutting. Inspection is an essential part of the manufacturing process.
After machining, components are measured to verify that they meet the required specifications.
Inspection may include:
- Dimensional measurement
- Tolerance verification
- Surface quality checking
- Coordinate Measuring Machine (CMM) inspection
For precision components used in industries such as medical devices, semiconductor equipment, robotics, and optical systems, accurate inspection ensures that every critical feature meets engineering requirements.
A reliable CNC machining supplier combines advanced equipment, skilled programming, and strict quality control to deliver consistent results.
What Factors Affect CNC Milling Results?
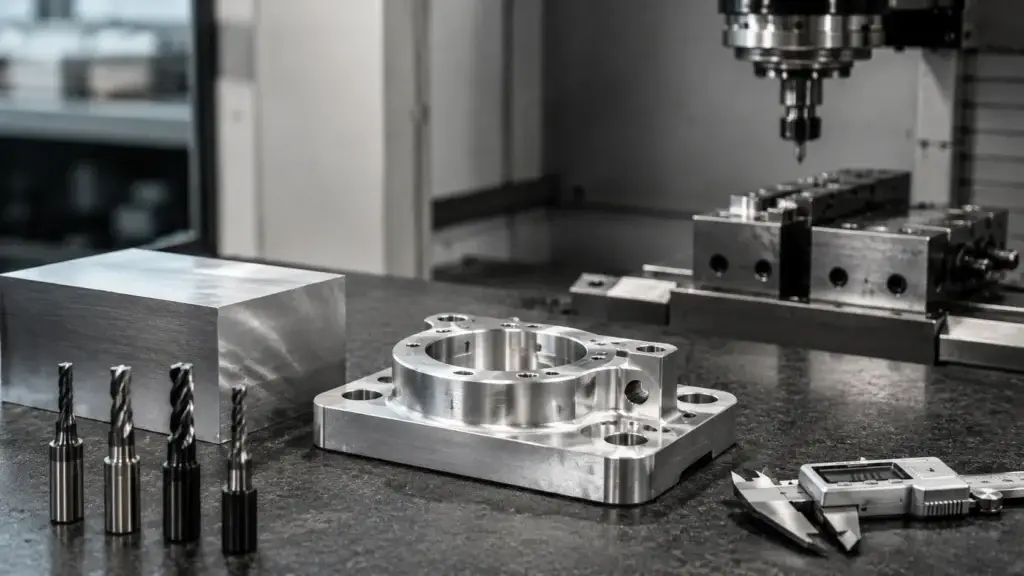
The final quality of a CNC milled part depends on more than just the machine itself.
Several factors influence machining performance:
Material Selection
Different materials behave differently during machining. Aluminum, stainless steel, brass, and engineering plastics require different cutting parameters and tooling strategies.
Tool Selection and Condition
Proper tools improve machining efficiency and surface quality, while worn tools may lead to dimensional errors.
Programming Quality
Optimized toolpaths reduce unnecessary movements and help achieve better accuracy.
Machine Capability
A stable and well-maintained CNC machine provides better repeatability, especially for tight-tolerance components.
Frequently Asked Questions About CNC Milling
How does a CNC milling machine work?
A CNC milling machine works by using computer-controlled instructions to move rotating cutting tools around a workpiece. The machine removes material according to programmed toolpaths to create the required part geometry.
What software is used for CNC milling?
CNC milling typically uses CAD software to create part designs and CAM software to generate machining instructions and toolpaths.
What are the main steps of CNC milling?
The main CNC milling steps include CAD design, CAM programming, machine setup, material cutting, and final inspection.
Understanding how CNC milling works helps engineers and buyers evaluate manufacturing requirements more effectively. From the initial CAD model to the final inspection stage, every step influences part accuracy, quality, and production efficiency. Choosing an experienced CNC machining partner ensures that designs can be transformed into reliable precision components with consistent results.